How to Expand Your ZimaBoard Storage with a 1TB SATA SSD
If you’re looking to give your ZimaBoard a storage boost, adding a 1TB SATA SSD is a smart and simple solution. In this tutorial, we’ll guide you through the process of installing and configuring your new SSD, as well as share some expert tips for getting the most out of your expanded storage capacity.
Adding 1TB SSD Storage
By adding a 1TB SATA SSD to your ZimaBoard, you’re laying the groundwork for transforming it into the ultimate personal cloud. The process is simple and straightforward, thanks to the board’s two 6GB/s SATA connections and the convenient SATA + power cable connector that comes included. With this upgrade, you’ll have the capacity and speed to support a variety of services and applications on your ZimaBoard.
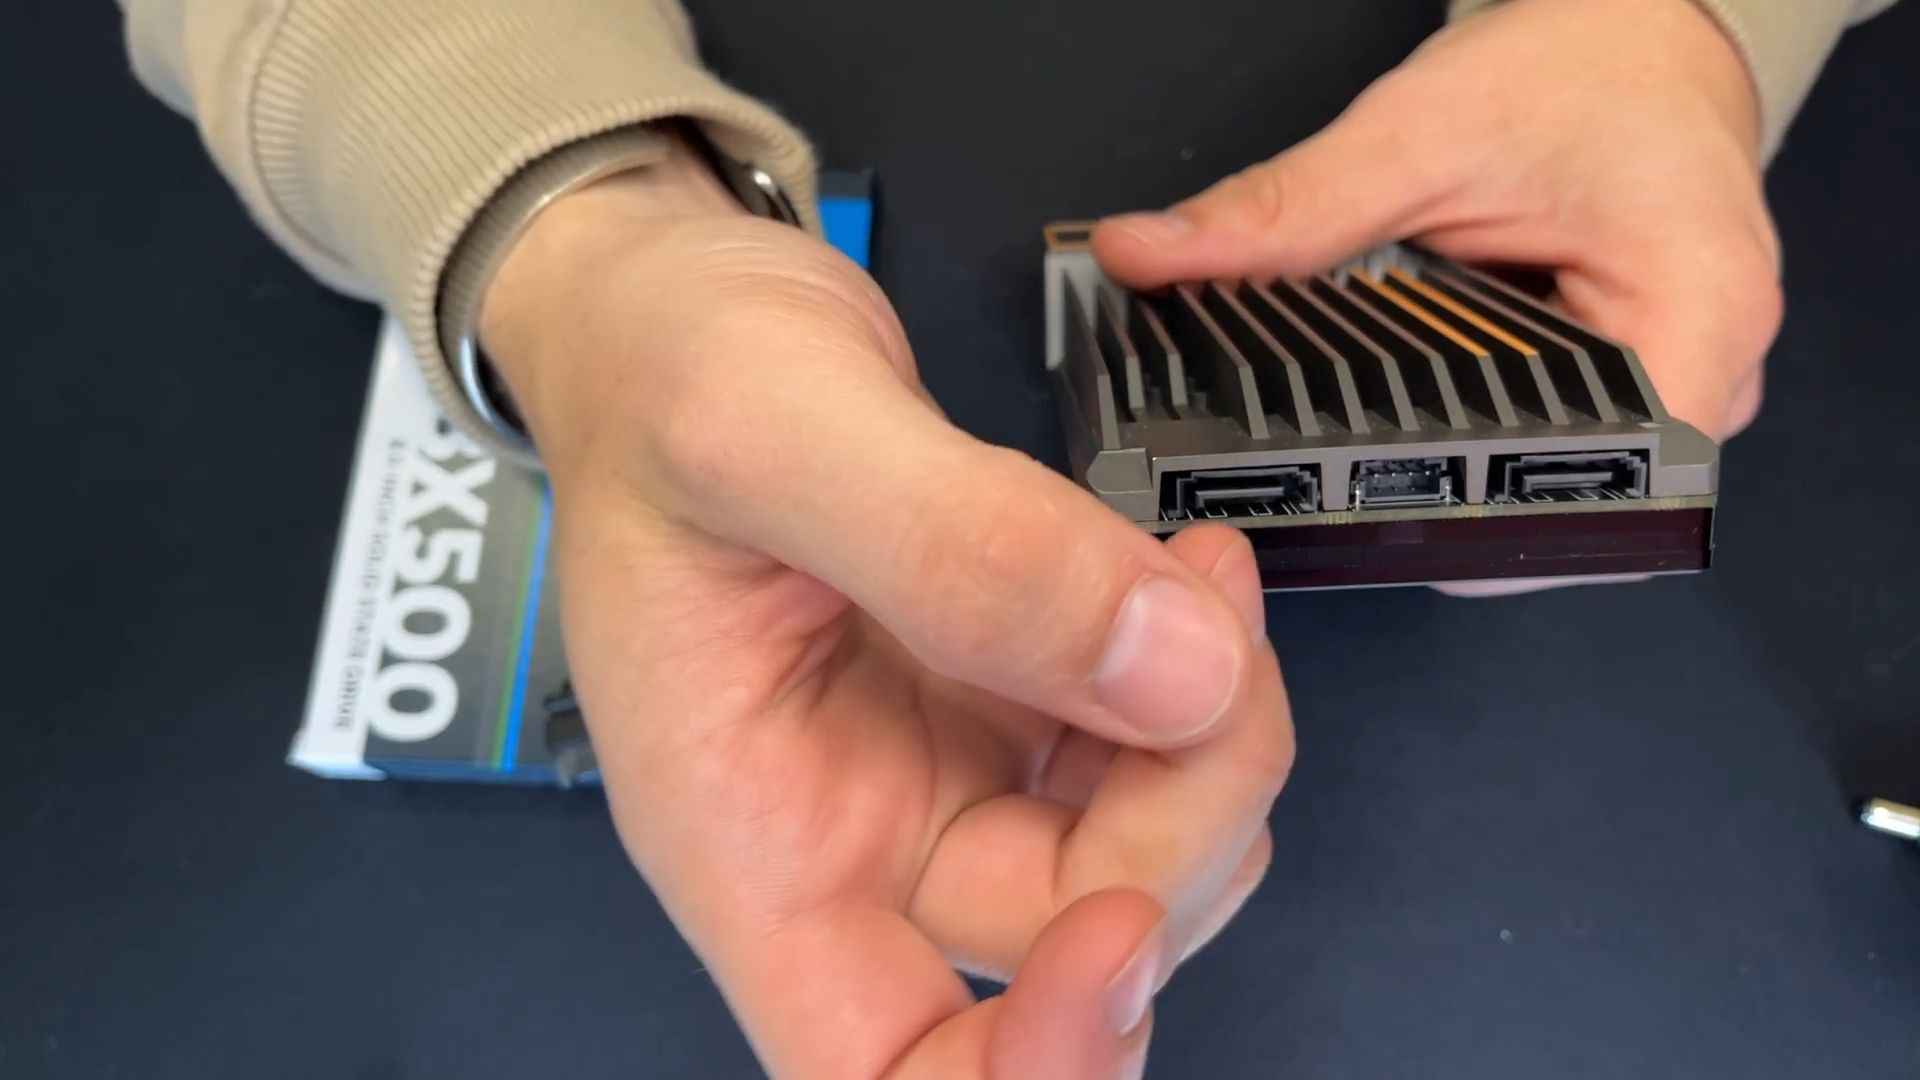
Sata connections
It’s worth noting that while the ZimaBoard features two SATA connections, it only has one power connection. This initially left me wondering how to connect two drives, but then I discovered an additional cable included with the ZimaBoard. This cable enables you to connect two drives using just one power connection, which was a huge relief.
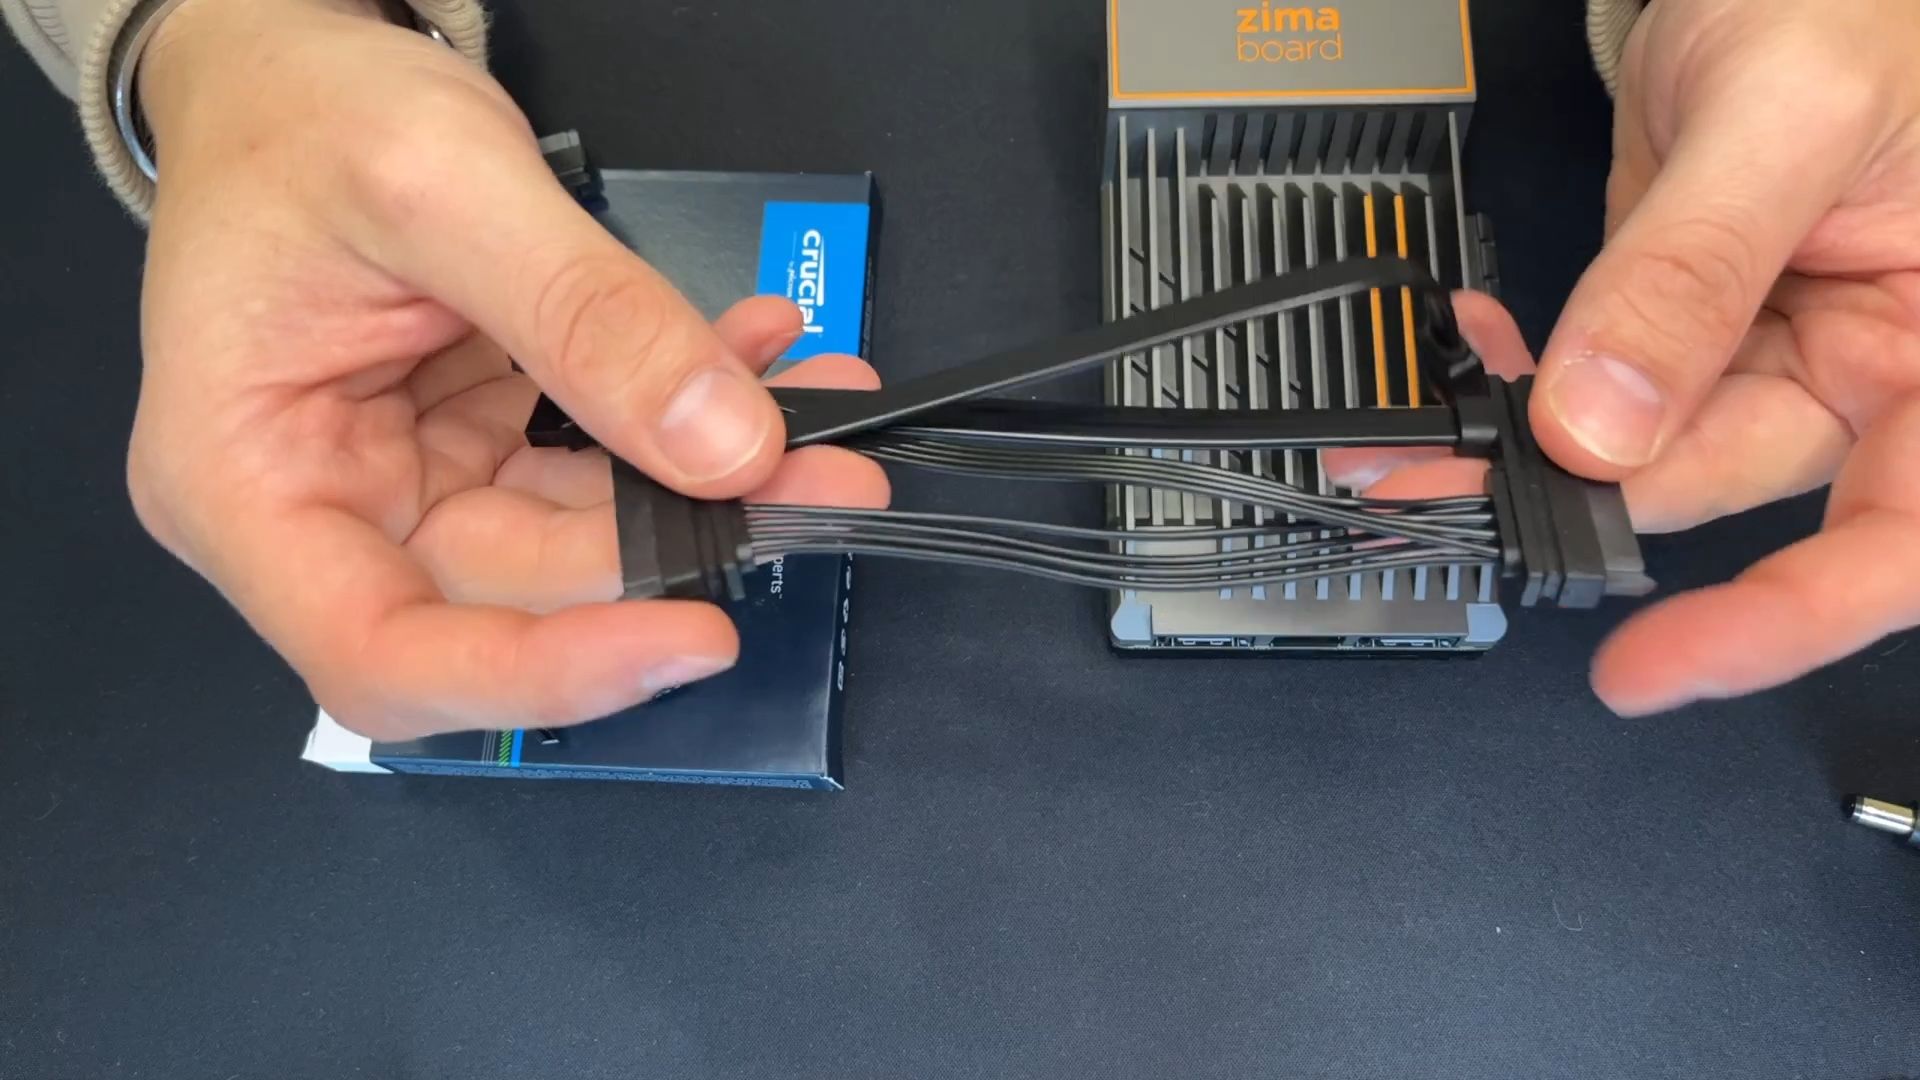
Duel disk cable
After connecting the SSD using the SATA + power connector, the rest of the process was straightforward. I plugged in the AC power and Ethernet and waited for the ZimaBoard to boot up. Once it was up and running, I logged into casaOS and easily added the new storage through the graphical user interface (GUI).
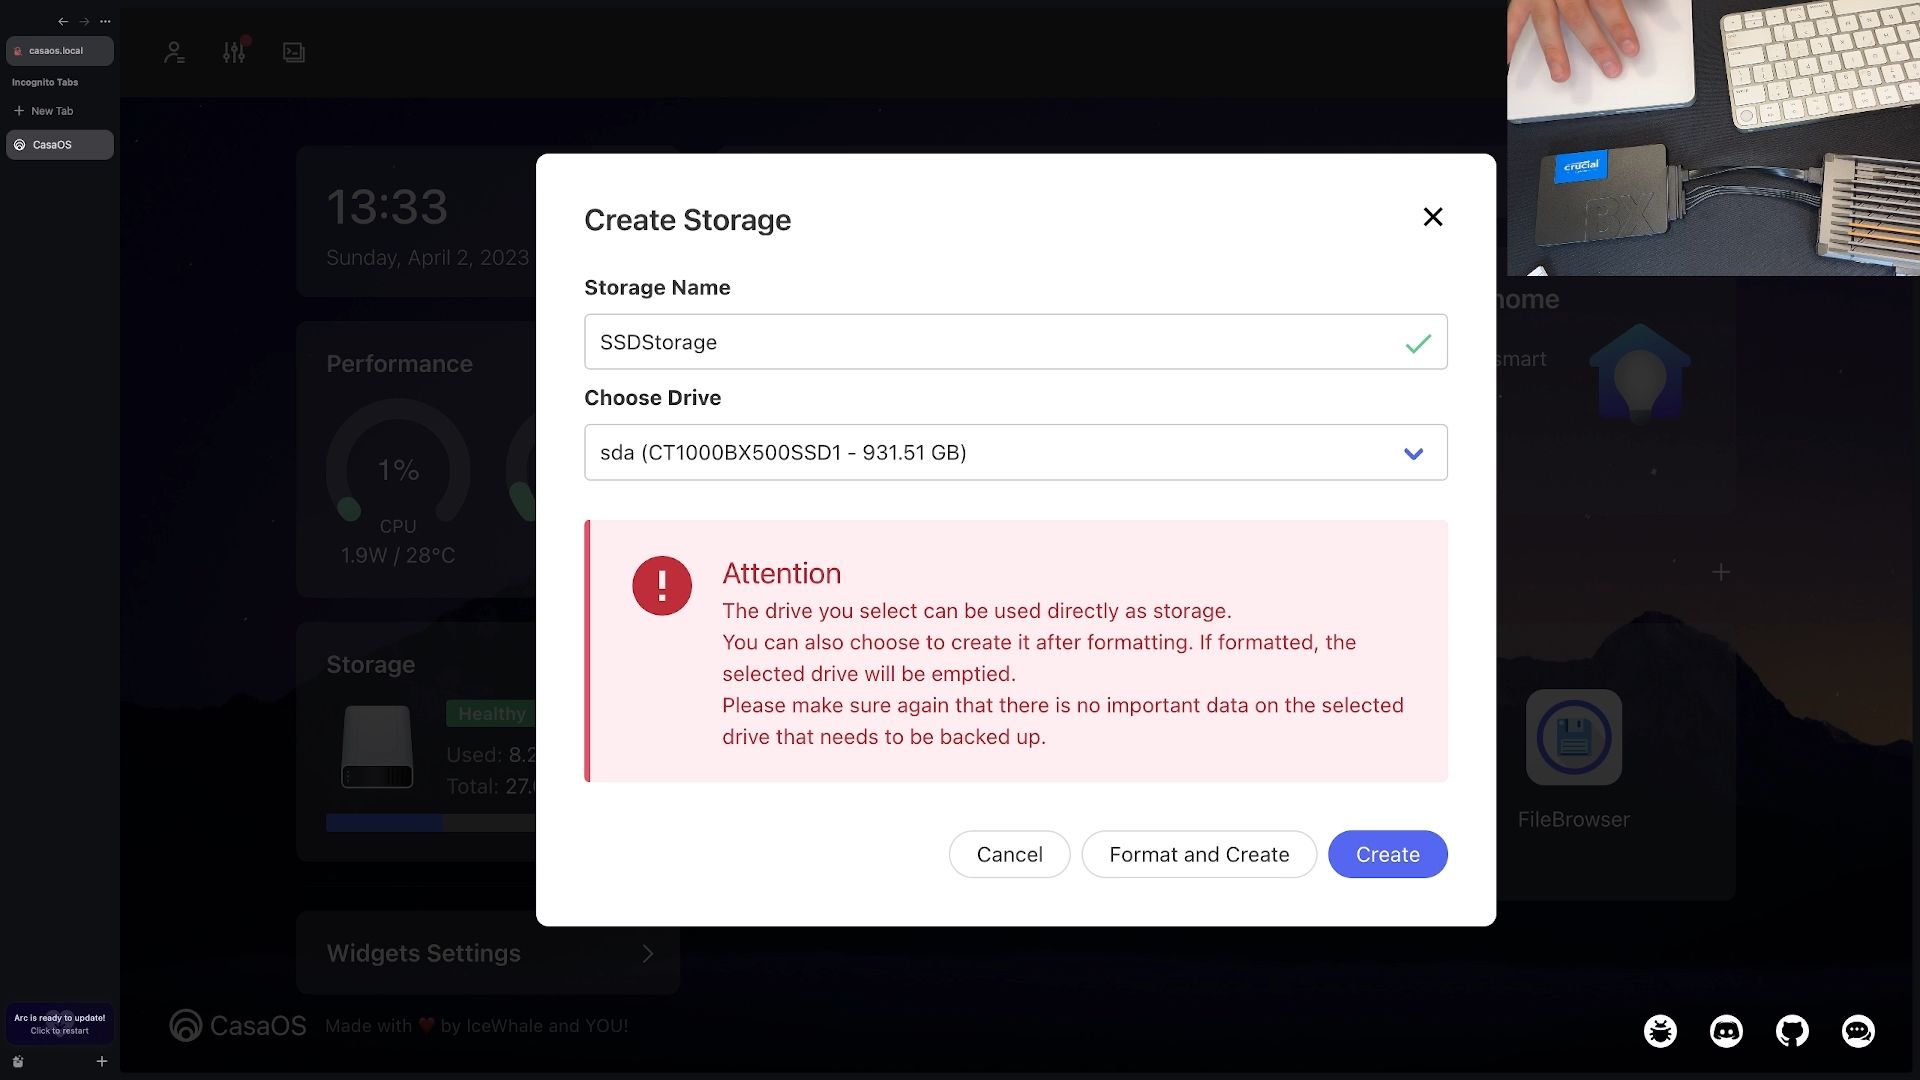
Formating the SSD
Once again, the process was simple and straightforward. After formatting the drive, I was pleased to see that the storage capacity had increased, and I now had nearly 1TB of storage available for use. This expanded storage will enable me to use the ZimaBoard for a wide range of personal cloud services and applications.
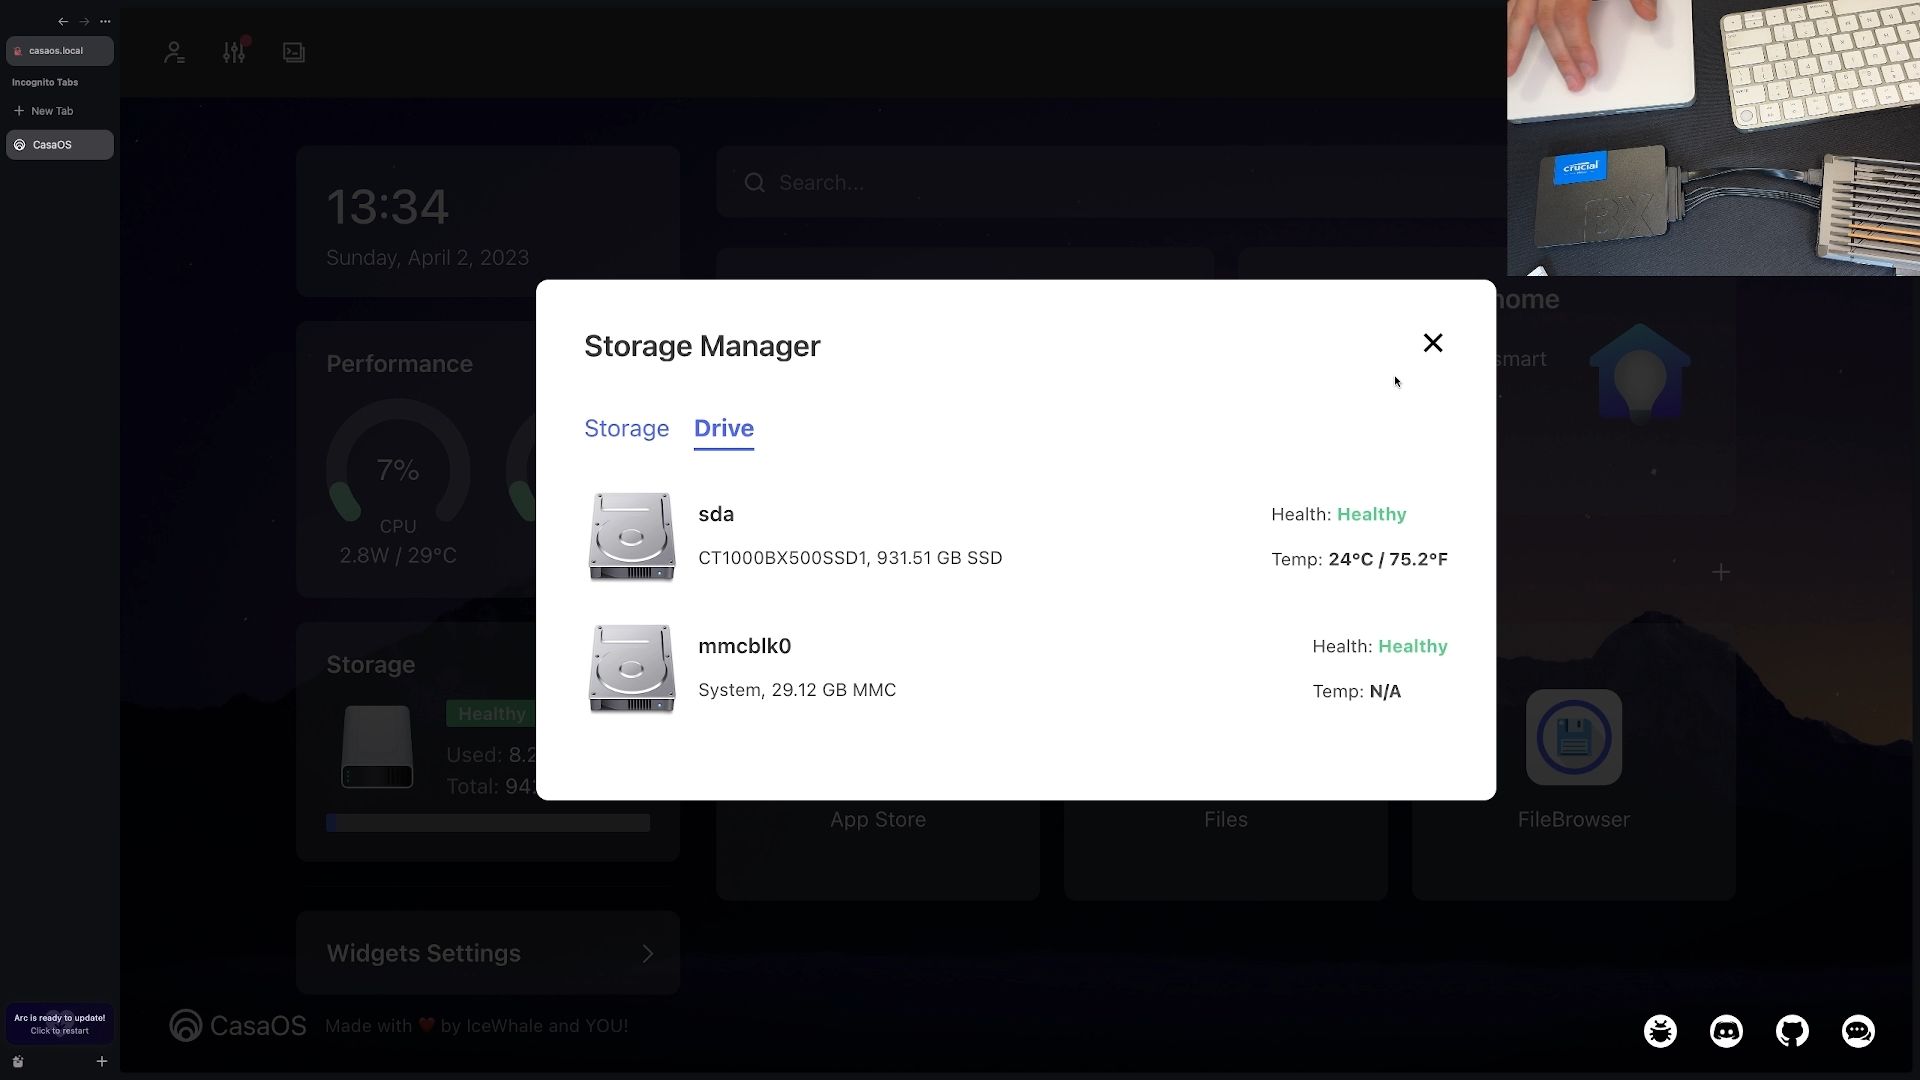
Disk overview
SponsoredNow that the drive was connected and the storage capacity increased, I am ready for the next stage of turning the ZimaBoard into an awesome personal cloud machine. This involves adding the Cloudflare tunnel and installing some essential software. I am excited to get started on this next phase, and I know it will take my personal cloud experience to the next level.